If you've always driven with xenon lighting and you buy a new car without xenon, you really miss a lot. In fact, it seems that you did not even switch on your lighting. That's why our customer wanted his Suzuki equipped with LED lighting. And the result is very satisfying.
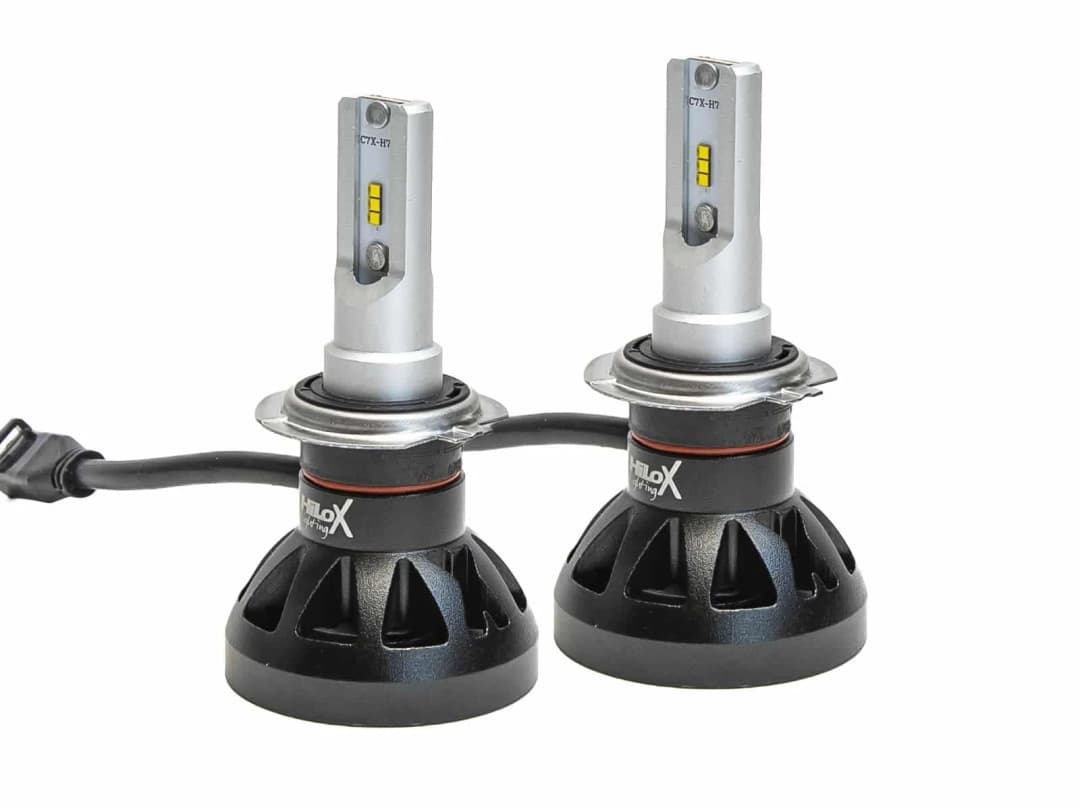
Full LED - Suzuki Grand Vitara - Customer Review
Short answer
How did this Suzuki Grand Vitara get a complete LED front end?
This Suzuki Grand Vitara LED upgrade started with the fog lights and ended with a complete LED front end: H7 LED dipped beam, HB3/9005 LED main beam, H11 LED fog lights and LED city lights from Hilox. The owner had always driven xenon, found LED easier to install in his Vitara with almost equal light output, and is very pleased with the result.
- Dipped beam: H7 LED, Hilox Performance.
- Main beam: HB3/9005 LED, Hilox Performance.
- Fog lights: H11 (50W) LED, Hilox Performance.
- The main light was the simplest to install; the fog light the most difficult, because the rubber sealing cap is exactly behind the lamp.
Suzuki Grand Vitara LED: why have you chosen for a LED kit?
I've always driven xenon and in my Vitara it was easier to install a LED kit, and since the light output is almost equal, I have chosen the Hilox LEDs, both for my dipped beam, headlamps and fog lights.
Which products have you installed and why?
I just wanted to replace my fog light, which I initially wanted to replace. Eventually I went away with my complete front end with LED lighting. Has cost me more than half more but I am very pleased with the result.
Used products
- Dipped beam: H7 LED, Hilox Performance
- Main beam: HB3/9005 LED, Hilox Performance
- Fog light: H11 (50W) LED, Hilox Performance
- City light: 4-SMD LED city light
Approved for all Suzuki's
Do you want such a Hilox LED kit in your Suzuki? The Hilox Evolution LED kit fits in any Suzuki, young, old, fat or thin. All you need is a left and a right hand and a kit in the right fitting. Don't you know which fitting your Suzuki has? Then check our LED low beam and high beam kits or contact us.
How was the installation of the LED kits?
Easier than expected. The fog lamp was still the most difficult because the rubber sealing cap is exactly behind the lamp. In this hood you will find the plug, as well as the cooling ribs and the power cable through the rubber. The main light was still the simplest: old lamp out, new LED lamp in. For the fog light, I had to crawl under the bumper, but it was not too much trouble.
Pro Installation tips: installing a LED kit
- To install the H7 LED kit, you can loosen the base of the lamp from the LED, which makes the installation easier. First, you put the H7 foot into the headlight so that you can click the LED in.
- Do you have too little space? Then look at the deeper rubber sealing caps.
Pro Installation tip: Adjusting the dimmed beam
Because the headlight itself is not changed except the lamp, you do not have to reset the headlamp in most cases. But nevertheless, it is wise to check that you do not blind the oncoming traffic. Put your car against a wall and mark the light beam with a pencil. After installing the LEDs, check whether this is the same.
A complete LED front end: what goes where
This owner started with his fog lights and ended up replacing every light at the front. If you are planning the same, it helps to know which lamp sits in which light unit and what to look for per unit. Check the fittings of your own car first, because they differ per model and year.
Dipped beam and main beam
In this Vitara the dipped beam uses H7 and the main beam HB3/9005. The current Hilox range has XTR Black LED kits for both, such as the H7 XTR Black LED kit, Hilox Performance and the HB3/9005 XTR Black LED kit, Hilox Performance. According to the product information, the XTR Black LEDs give 3600 lumen per lamp at 5700K, use Luxeon Z ES chips from Lumileds (Philips) that last up to 50,000 hours, and can be rotated 360 degrees to fine-tune the light image. Compare all options at LED low beam and high beam.
Fog lights
The fog lights were the hardest part of this job: the rubber sealing cap sits exactly behind the lamp and holds the plug, cooling ribs and power cable, and you have to work from under the bumper. Take your time and check the space before you order. In the current range, the H11 40W Power LED Hilox Performance uses Cree XBD LED chips, gives a white 5000K light and works on 12V and 24V. According to the product information it is only suitable for fog lights and works on cars with CAN-bus in combination with a daytime running light module. See all LED fog lights.
City lights
The city light is the smallest step, but it makes the front end complete. The T10/W5W 9-SMD Power LED Hilox Evolution II is a CAN-bus LED at 5500K, which according to the product information matches well with 4300K, 5000K and 6000K, and lasts up to 30,000 hours.
One colour of light
When you replace all lights at once, pay attention to the colour temperature. Lamps with a similar Kelvin value give a front end that looks like one whole. The values above range from 5000K to 5700K.
After installation, have the light beam checked and make sure your car still meets the APK requirements. If in doubt, ask the RDW or your inspector. The Hilox product information states that these LED lamps have no ECE approval and are intended for circuit and private terrain use only.
Frequently asked questions about the Suzuki Grand Vitara LED upgrade
Which LED lamps were used in this Suzuki Grand Vitara?
H7 LED for the dipped beam, HB3/9005 LED for the main beam, H11 (50W) LED for the fog lights, all Hilox Performance, and a 4-SMD LED city light.
Why did the owner choose LED instead of xenon?
He had always driven xenon, but in his Vitara it was easier to install a LED kit, and the light output is almost equal.
Which light was the hardest to install?
The fog lamp, because the rubber sealing cap is exactly behind the lamp and holds the plug, the cooling ribs and the power cable. He had to crawl under the bumper, but it was not too much trouble.
Do you need to reset the headlights after installing LED?
In most cases not, because only the lamp changes. Mark the light beam on a wall before installing and check afterwards that it is the same.
Lees verderDrie meer

Drie meer
uit de archief.
Autoverlichting en de autoverzekering
Kapotte autolampen vallen onder slijtage en worden niet vergoed, diefstal en schade soms wel. Lees wat je autoverzekering dekt en hoe led- en xenonverlichting daarbij helpen.
Hilox XTR LED kits als beste getest door Truckstar Magazine
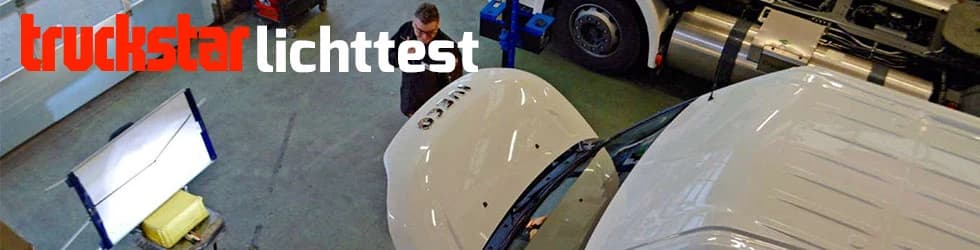
In de dimlicht LED test van Truckstar Magazine kwam de Hilox XTR Black als beste uit de bus. Lees hoe de leds scoorden in reflector- en lenskoplampen, op koeling, CAN-bus en APK.

Hilox Vaderdag cadeautips
Op zoek naar een gaaf cadeau voor Vaderdag? Zes Hilox cadeautips, van XTR LED kits en MTB lampen tot LED halsbanden, riemen en elektrische peper- en zoutmolens.
Stook inEens per maand,
Eens per maand,
een echte brief.
Nieuwe producten, montagetips en acties. Geen ruis, nooit doorverkocht.